In this guide you will learn how to install a firewall on your Raspberry Pi and enable it without locking yourself out.
This guide of course also applies to any Debian or Ubuntu Server, no matter if a Pi or PC.
What is a firewall?
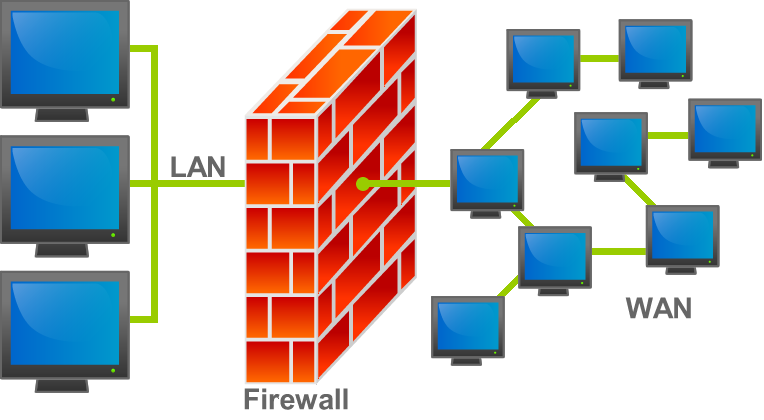
A firewall is a piece of software that monitors incoming and outcoming network traffic. It can then allow, reject or drop (block) traffic, or even manipulate and redirect traffic.
Which firewall software should I pick?
We will be installing UFW which stands for Uncomplicated Firewall, which is a great choice for beginners.
Installing UFW
We will be installing ufw as follows:
sudo apt update
sudo apt install ufw
Now ufw should be installed, but before we enable it we should allow SSH, or else you will be locked out of SSH!
Allowing SSH and Enabling UFW
sudo ufw allow ssh
sudo ufw enable
Which will output something like this for each command:
Rule added
Firewall is active and enabled on system startup
Now your Raspberry Pi should be safe from anything connecting to it as long as the firewall is running, and blocking things.
You can verify it’s running with:
sudo ufw statusAllowing things to connect to your Pi (globally)
By default, the firewall allows all outgoing connections but blocks all incoming connections.
To allow something (globally, as in, no restriction from where it’s connecting from) you simply do:
sudo ufw allow profilenameWhere profilename stands for a profile name, like “ssh” or “http” or “https” which is built-in to ufw. But not everything is built-in and you might have to manually specify a port and protocol.
If we want to enable the web interface of Tvheadend for example, we’d have to do something like:
sudo ufw allow 9981/tcpWhich says we want to allow port 9981 but only for TCP. You can of course replace /tcp with /udp to allow UDP only. You can also specify a port without protocol, to allow all of them.
Allowing things from specific locations
Now, say, you only want to allow Tvheadend to be accessed from your local network, you’d have to be more specific.
Assuming your home network is 192.168.1.0/24, we can do something like:
sudo ufw allow from 192.168.1.0/24 to any port 9981 proto tcpThis will allow anyone from 192.168.1.0/24 (which is 192.168.1.0 – 192.168.1.255) to connect to port 9981 with TCP.
But now, you might have added the global rule already and want to revoke (delete) it. Read on…
Deleting rules you added
To delete a rule, you first need to list all of the rules you added, with:
sudo ufw status numberedWhich will list all the rules you added, with a number in square brackets in front of each rule.
To delete a rule, pick the corresponding number and simply do:
sudo ufw delete XWhere X is the number, and it will show the corresponding rule again and ask for confirmation with Y or N (Yes or No), simply type the letter Y on your keyboard and hit enter to confirm deletion. Or enter N to abort. Just make sure you don’t delete the SSH rule, or you won’t be able to connect with SSH anymore (you’d have to attach a screen and keyboard and enable it again)!
Conclusion
Installing and setting up a firewall on your Raspberry Pi is easy to do and recommended to improve overall security. Especially if you’re running services on it that have networking support but shouldn’t be accessed from outside.
That’s all there is to it!
Leave A Comment