In my past YouTube videos I took a look at running the GPi Case with the Pi Zero 2 W.
So, how did I do it?
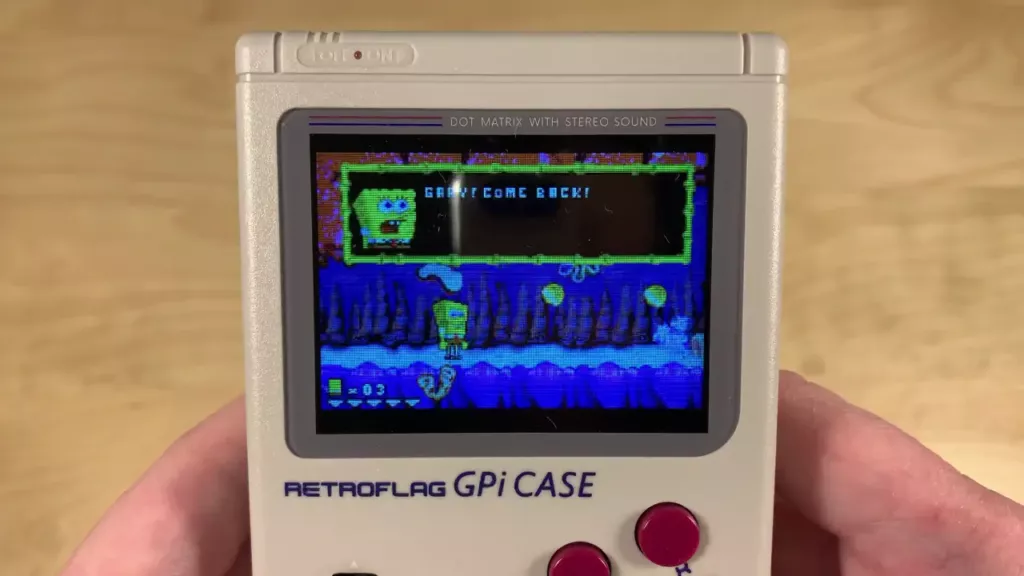
This guide assumes you have a Rasberry Pi Zero W working with the GPi Case, using RetroPie.
Update it all
First thing is, update Raspberry Pi OS:
sudo apt update
sudo apt upgrade
Then upgrade from Raspberry Pi OS 10 to 11 (buster to bullseye): Check the official documentation on how to do that.
Note that, if doing an update is too much of an effort, you can try to start fresh with a Raspberry Pi OS 11 image, and then manually install RetroPie according to their guide, however I did not test the [manual install].
Instead of going through the manual update, download the image for Raspberry Pi 3 from the [RetroPie weekly images]. It works on the Pi Zero 2 W!
Also check out my videos at the bottom of this page.
Drivers
Now that we’re fully up-to-date, download and install the Retroflag GPi Case [drivers from here].
This is needed because the update did overwrite the previously installed ones.
Edit the config.txt
If you’re doing this through SSH, you will find it under /boot/config.txt
If you’re doing this on your PC through SD card, you’ll find the config.txt in the “boot” partition.
Edit it and comment out the sound part so that this:
dtoverlay=pwm-audio-pi-zerobecomes this:
#dtoverlay=pwm-audio-pi-zeroThis is because the GPi Case AUDIO drivers don’t seem to work with the Pi Zero 2 W (but the screen drivers do).
Now we want to fix audio by adding these two lines:
dtoverlay=audremap,pins_18_19
snd_bcm2835.enable_compat_alsa=1
Note that sometimes audio works, sometimes it stops working after reboot. Make sure to hit start to open the settings menu, go to sound, and crank the volume up there. If often sets itself to 0.
Speaking of the start key, let’s fix START and SELECT:
Fixing the keys (START and SELECT)
SSH into the Pi, edit ~/.emulationstation/es_input.cfg like this:
nano ~/.emulationstation/es_input.cfgNow where you see the keys start and select, replace the ID numbers so that 6 becomes 8, and 7 becomes 9.
Reboot, hit start to open the menu, run the key configuration again so that it will also update the keys for the emulators.
Conclusion
It’s actually quite easy once you know how, the biggest hurdle is upgrading from Raspberry Pi OS 10 to 11…
As for the audio, I have not yet figured out how to make it work across all reboots. Currently it’s more of a gamble.
If you know how to make audio work reliably, let me know in the comments!
Update 2021-12-02
Instead of going through the manual update of RetroPie, download a weekly image for the Pi 3, which works great on the Zero 2 W!
Furthermore, unless you really want RetroPie, I’d recommend using [Recalbox] instead of RetroPie.
Check out my videos below which cover everything from the original troubleshooting, the success, Recalbox and the updated RetroPie method.
Ich bekomm meine GPS1 Case (Rasp.Zero 2w) mit dem Recalbox 9.1 einfach nicht zum laufen. Angeblich beinhaltet dieses schon den Display Patch bzgl. des HDMI.
Hast du oder jemand noch eine Idee woran es liegen könnte?
Retropie startet, allerdings kann ich die Tastatur nicht einrichten….(“A” gedrückt halten für die erkennung)
Thanks for the guide! I updated myself from Debian 9 to 10 and struggeled with the Audio, thanks for the config.txt setting! Still trying to find a fix for no audio sometimes, as you also wrote
Vielen Dank für die prima Tipps!
Ich hab mir gestern nur auf Verdacht eine Zero 2W bestellt um für meine Töchter zu Nikolaus einen flotten Retroflag GPi Case zu bauen.
Hatte nur vermutet das es schon kompetente Vorkämpfer für das gab ;)
Nochmals Danke für die Arbeit.
Christoph
I have made some more videos in the meantime, for example, the method to install RetroPie is now easier. I also made a video exploring Recalbox which I now recommend instead of RetroPie.